How to apply transfer stickers with application tape

When you order any cut out stickers from Abacas Studios, we supply them on application tape for you. This makes installation a breeze.
Which surfaces work best?

Our vinyl transfer stickers are perfect for plastic, glass and metal surfaces; including cars, vans and motorcycles. We offer our transfer stickers in removable and semi-permanent materials. Please ask our team for more details.

If you ever need a sample to test your surface, please contact us and we’ll be happy to help.

Step by step installation instructions:
Transfer sticker step one

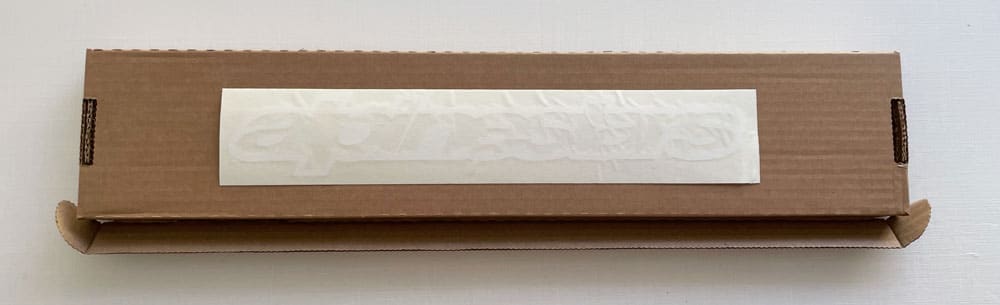
1. Decide where you want to place your sticker. we've chosen a cardboard box in this example.

Transfer sticker step two

2. Slowly and carefully peel back the vinyl paper backing, leaving your sticker attached to the sticky transfer paper.

Transfer sticker step three

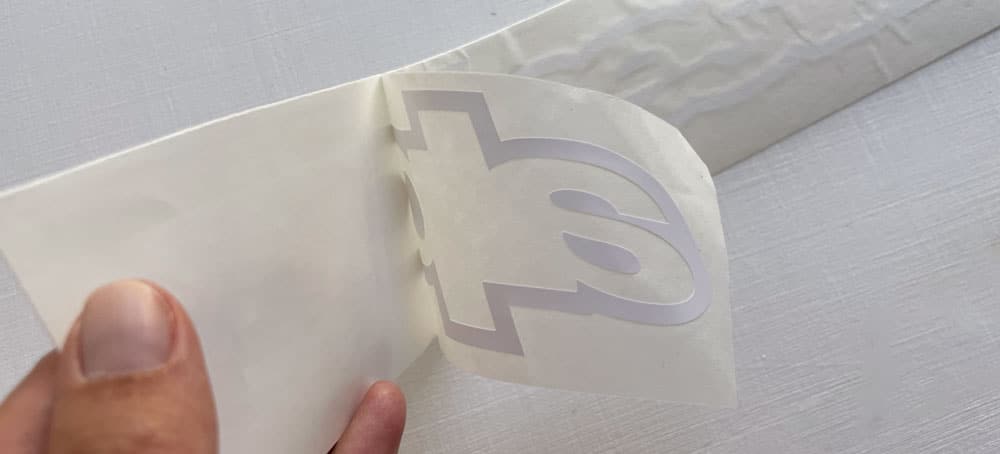
3. Make sure you catch all those little sticker pieces when you're removing the backing paper, especially in small lettering.

Transfer sticker step four

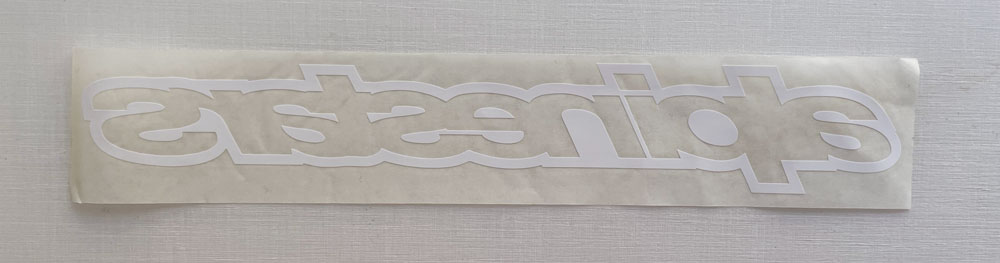
4. Your sticker will now be face down and back to front on your application tape, ready for installation.

Transfer sticker step five

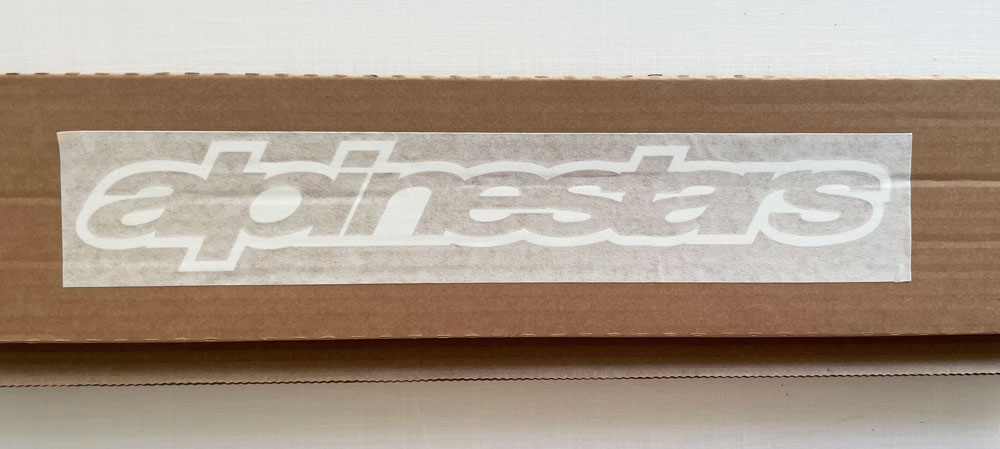
5. Turn your sticker over and line it up to your surface. Then press down firmly along the whole design.

Transfer sticker step six

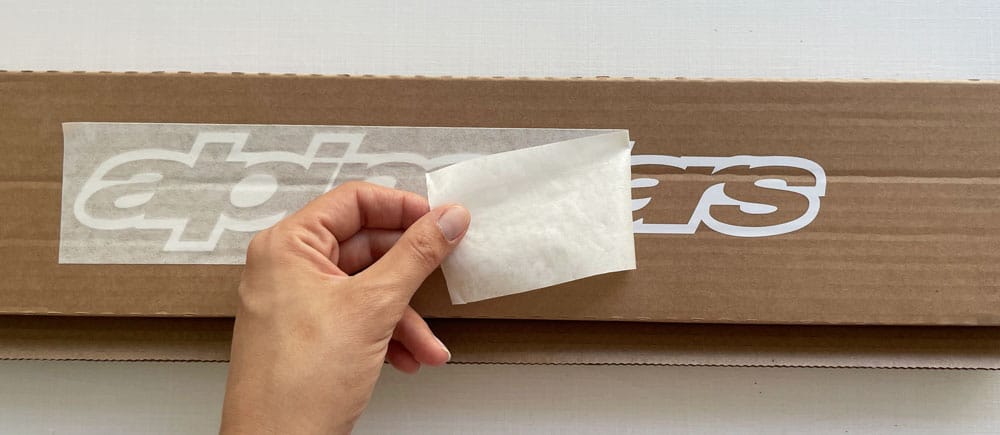
6. Slowly and carefully peel back the application tape to reveal your design. Pulling the tape back at an angle as pictured is helpful.
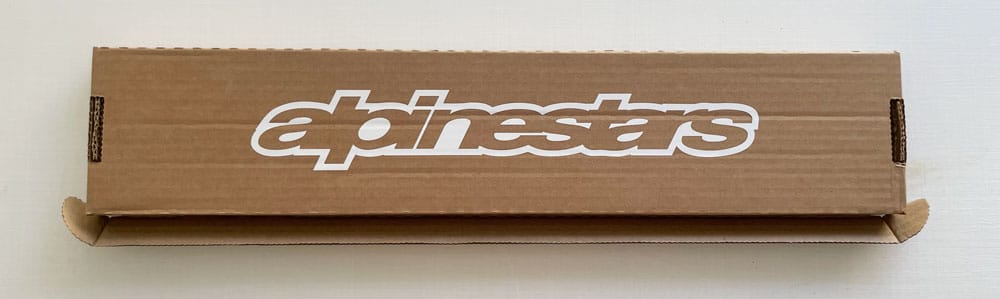
Transfer sticker step seven

7. The end result.

Still unsure about how to apply transfer stickers?

If you need any advice, please get in touch and we’ll be happy to talk you through anything over the phone or by email. Call our team on 01908 520 920 or email sales@abalabels.co.uk.

Support

For any questions, please give us a call us on 01908 520 920
How to order vinyl stickers
How to order
How to supply artwork glyph
Supplying Artwork
how to track your order glyph
Order tracking